Flash a Gotek with a USB A to USB A cable
Most of the Goteks can be Flashed with a USB A to USB A cable.
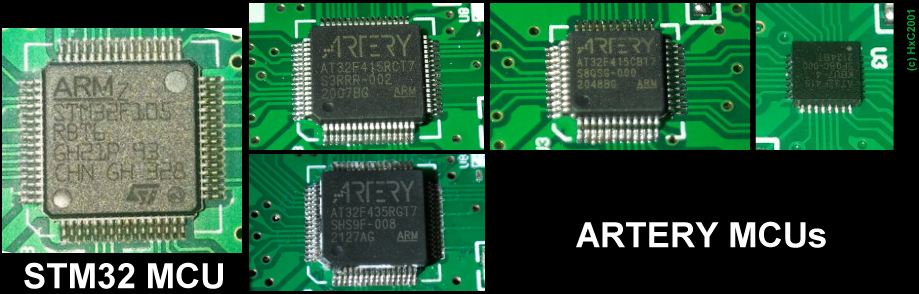
There are currently 2 differents MCU brands used in the Goteks and there are some update procedure changes between these MCUs.
STM32 Gotek USB A to USB A cable firmware installation
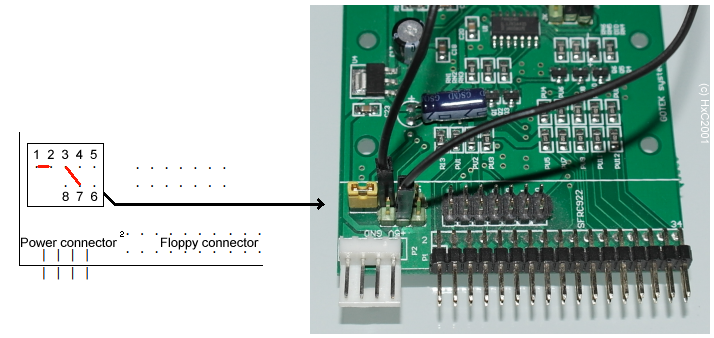
STM32 Gotek jumper block
On STM32 Goteks you need to connect together the pins 1 and 2 (BOOT0) and the pins 3 and 7 (VBUS). You can use jumpers or wires to do this. Soldering them is not necessary.
If your Gotek is using a STM32 MCU you will need :
-
A Gotek drive.
-
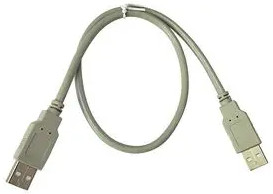
A USB A to USB A cable.
-
The DfuSe software from ST Microelectronics
-
1 Jumper lead and one wire to connect pins on the Gotek.
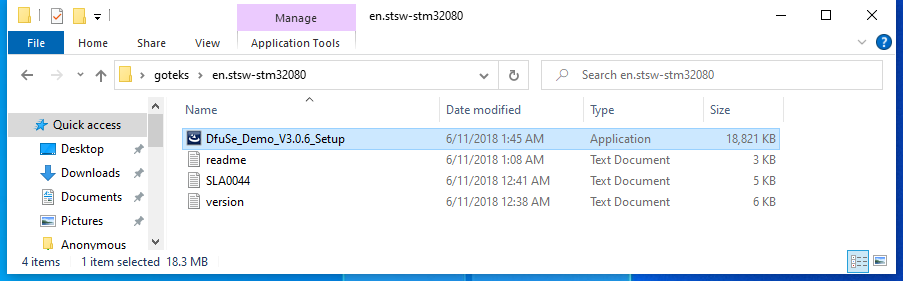
STM32 Gotek DfuSe USB update software
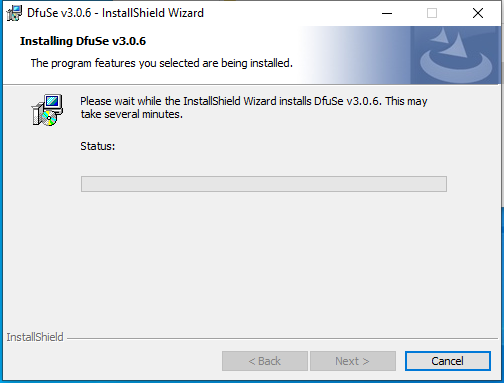
Download and install the ST DfuSe USB device firmware upgrade from ST Microelectronics :
-
Download : https://www.st.com/en/development-tools/stsw-stm32080.html
-
Alternate Download : link:../../../download/floppy_drive_emulator/en.stsw-stm32080.zip
|
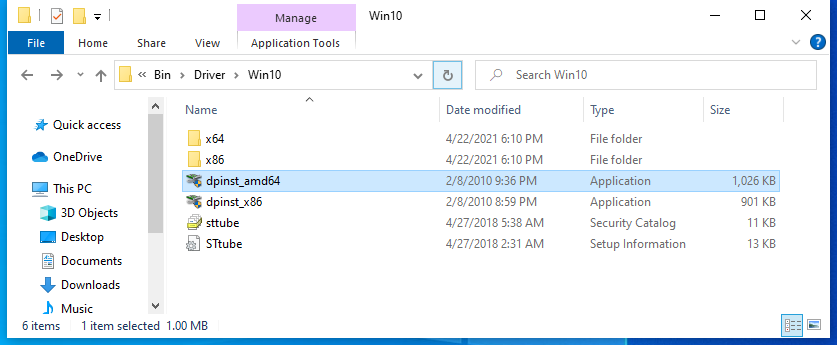
Note
|
For some reasons you may need to install the driver manually. It can be found in the "C:\Program Files (x86)\STMicroelectronics\Software\DfuSe v3.0.6\Bin\Driver\Win10" folder. |
Update procedure
-
Strap the BOOT0 signal and the VBUS signal as shown on the above picture.
-
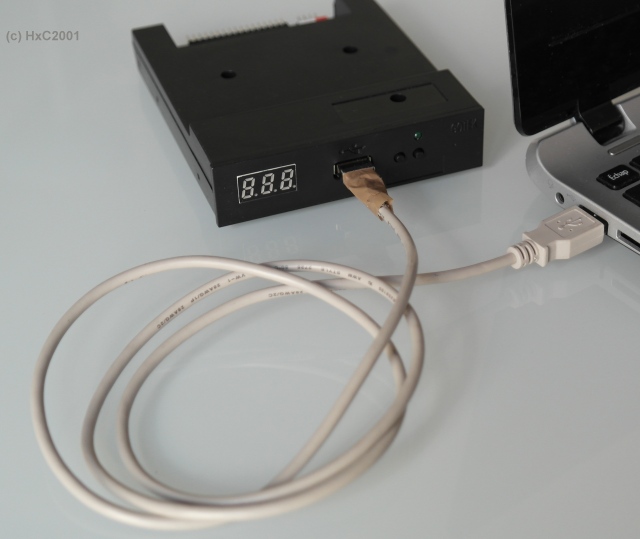
Connect the Gotek to your PC with the USB A USB A cable. (No other physical connection needed !)
-
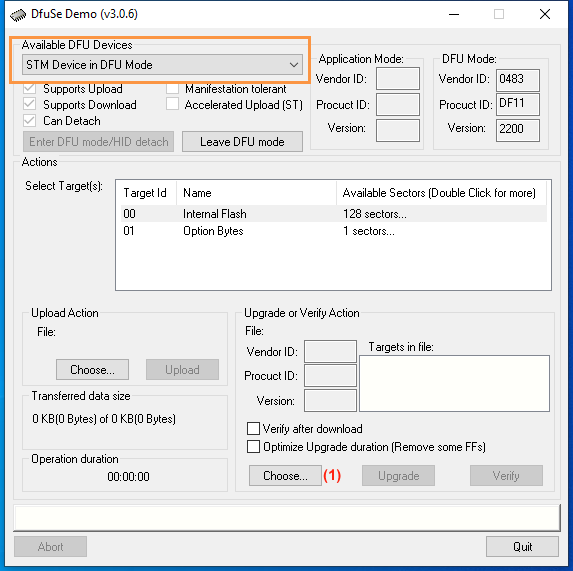
The PC should detect the Gotek. Once done you should see a "STM Device in DFU mode" device in the device manager.
-
Start the "DFuseDemo" software from the start menu. In the devices dropdown you should find "STM device in DFU mode".
-
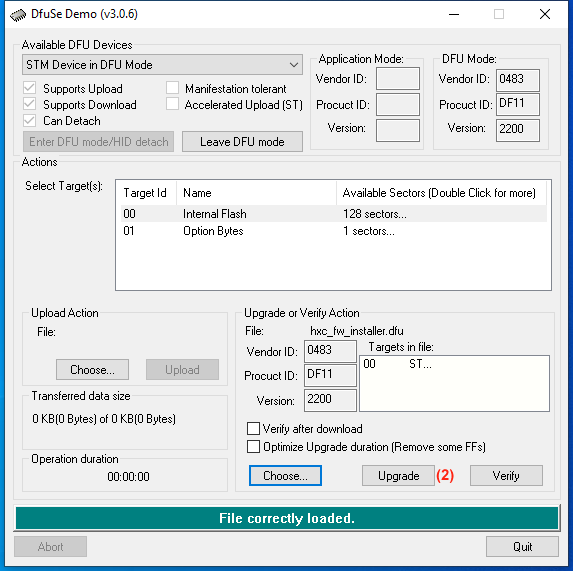
Press "Choose" (1) in the Upgrade/Verify Action box and choose the provided hxc_fw_installer.dfu file.
-
Click on "Upgrade" (2)
-
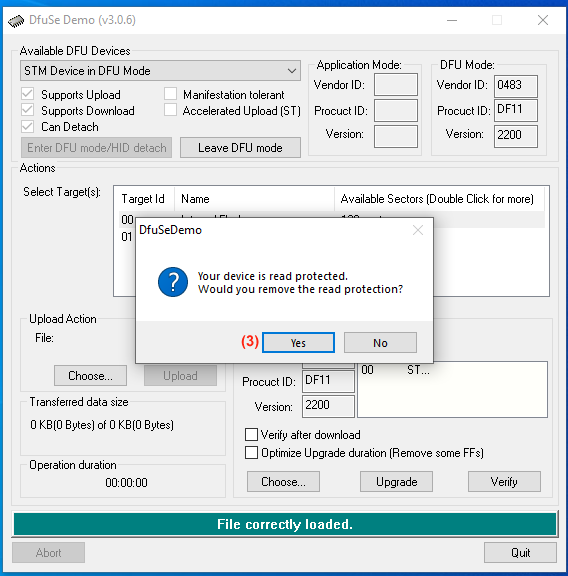
If the read protection related question is asked, press "Yes" (3)
-
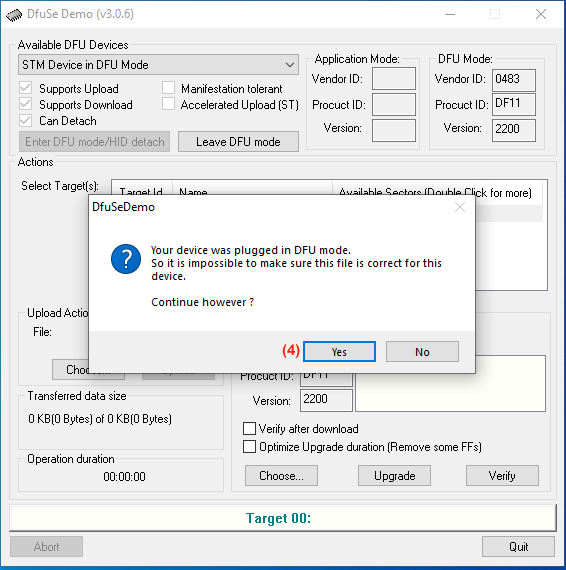
If the identification related question is asked, press "Yes" (4)
-
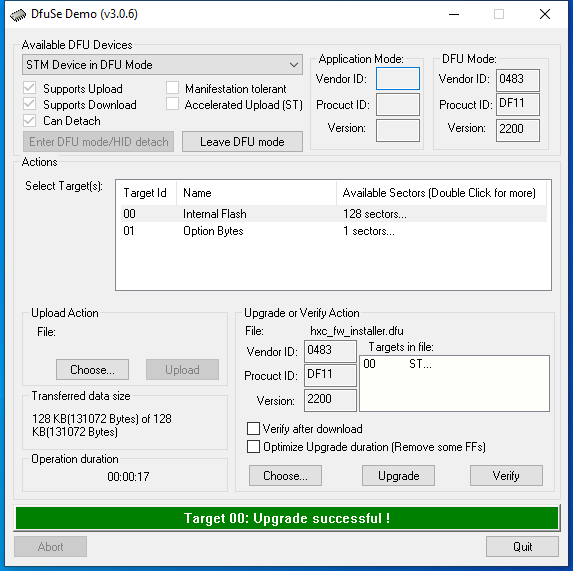
After this the Gotek will be reprogrammed.

-
Once done disconnect the gotek and remove the jumpers/straps/wires.
-
At this point you can disconnect the wires and remove the straps. Follow up the next steps provided in the email to validate the HxC firmware installation.
ARTERY Gotek USB A to USB A cable firmware installation
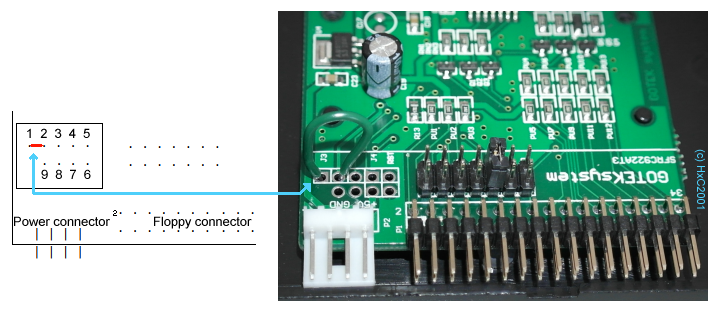
ARTERY Gotek jumper block
On ARTERY Goteks you need to connect together the pins 1 and 2 to strap the BOOT0 signal. You can use a jumper or a wire to do this. Soldering them is not necessary.
If your Gotek is using an ARTERY MCU you will need :
-
A Gotek drive.
-
A USB A to USB A cable.
-
The DfuSe software from ARTERY
-
1 Jumper or a wire to strap the BOOT0 pin on the Gotek.
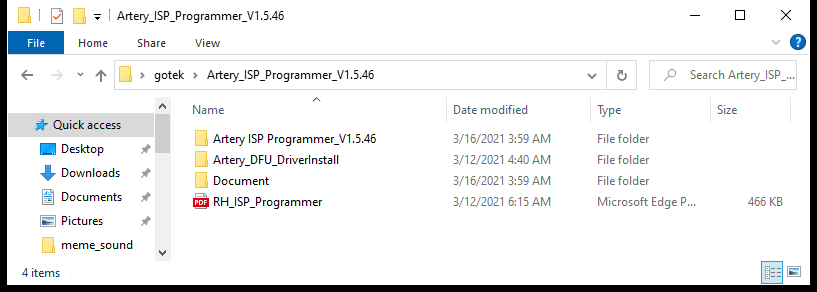
ARTERY Gotek ISP Programmer software
Download the ARTERY ISP Programmer software from ARTERY :
-
Download : https://www.arterychip.com/download/TOOL/Artery_ISP_Programmer_V2.0.05.zip
-
Alternate Download : Artery_ISP_Programmer_V2.0.05.zip
-
Unpack the Artery_ISP_Programmer_V2.0.05.zip file.
-
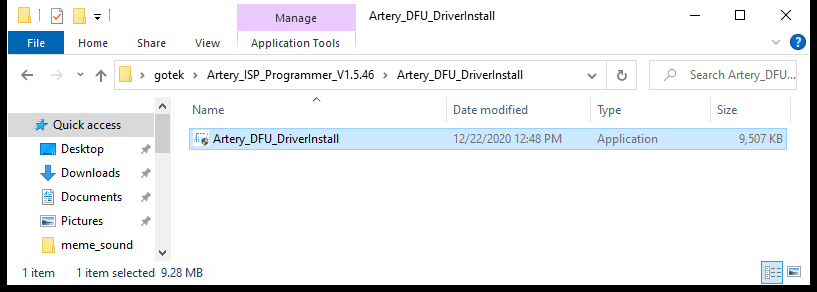
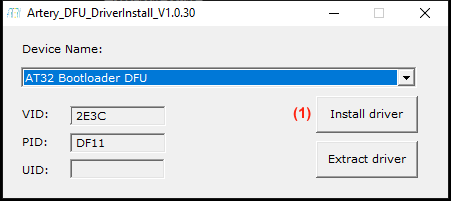
Install the ARTERY driver by running the Artery_DFU_DriverInstall.exe file.

|
Note
|
The computer restart doesn’t seem to be necessary under Windows 10. |
Update procedure
-
Strap the BOOT0 signal as shown on the above picture.
-
Connect the Gotek to your PC with the USB A USB A cable. (No other physical connection needed !)
-
The PC should then detect the Gotek. Once done you should see the device in the device manager.
-
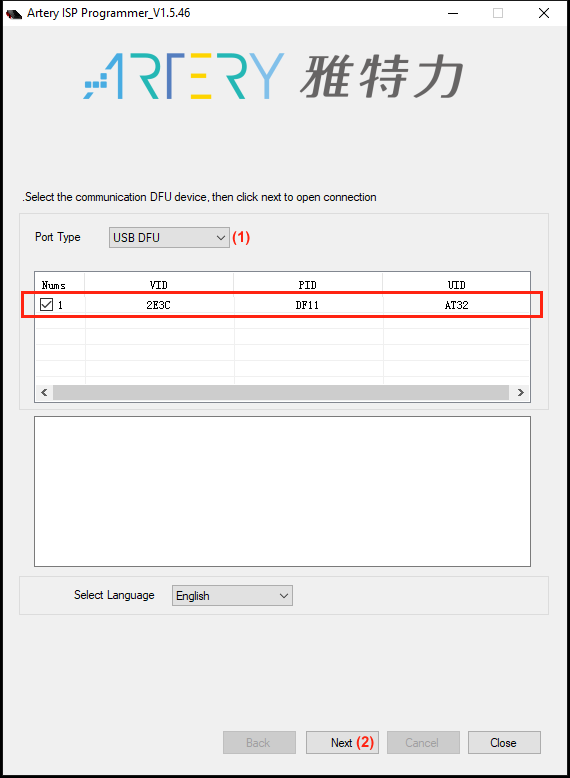
Start the "ArteryISPProgrammer.exe" software.
-
Select the "USB DFU" port type (1). You see the Gotek in the list, Select it, Press "Next" (2).
-
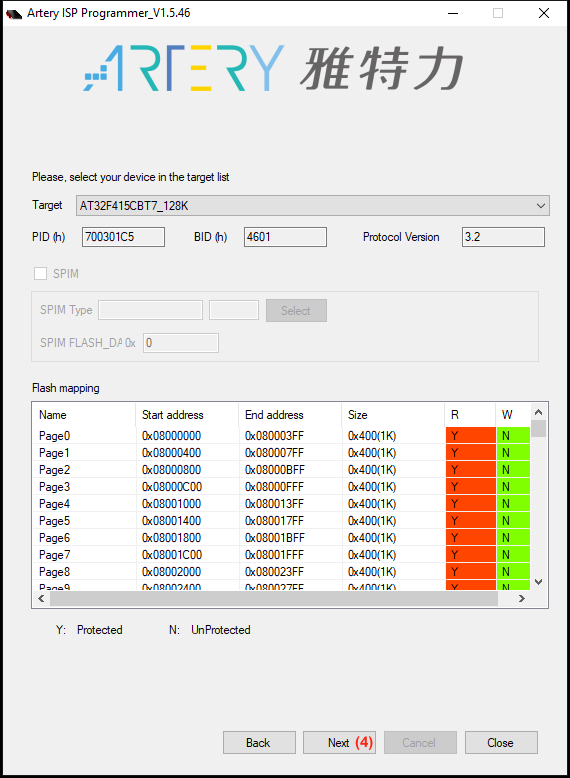
Press "Next" (3).

-
Press "Next" (4).
-
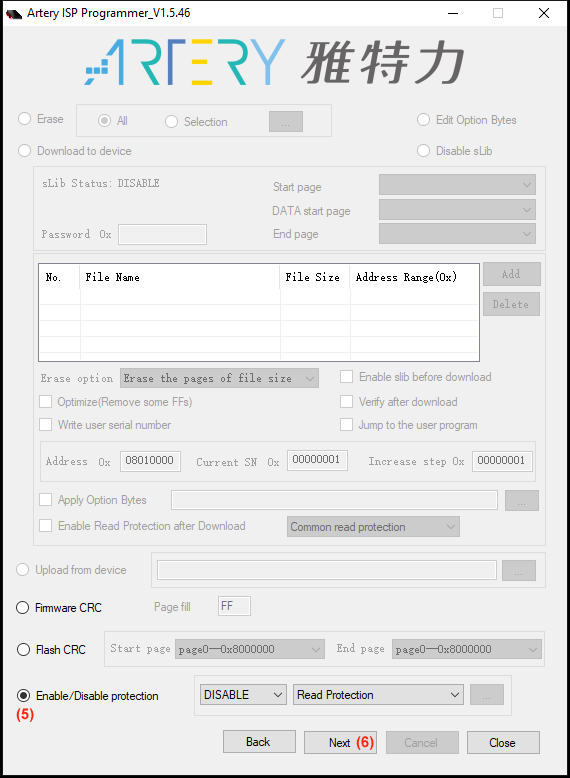
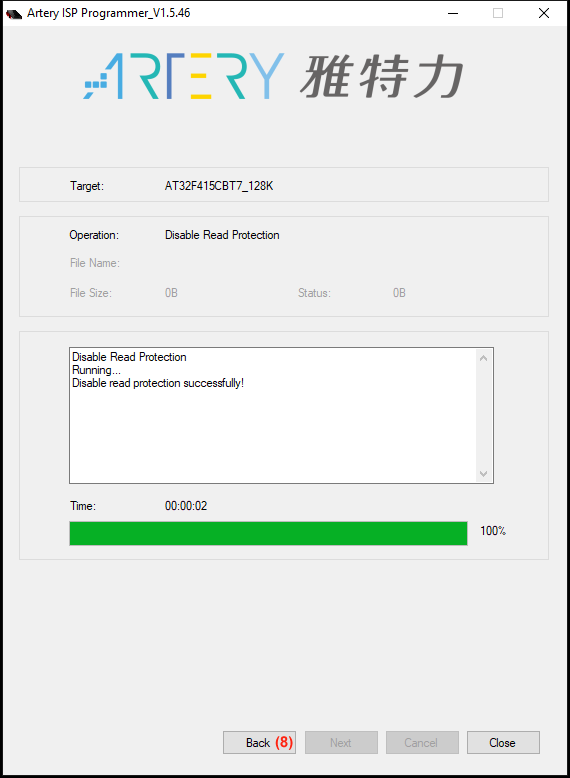
Select "Enable/Disable Protection" (5). Choose "DISABLE" and "Read Protection", Press "Next" (6),
-
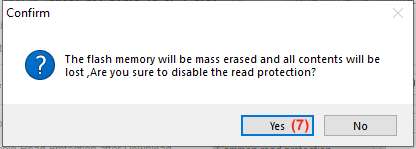
Press "Yes" (7).
-
Once the erase operation is done, press "Back" (8).
-
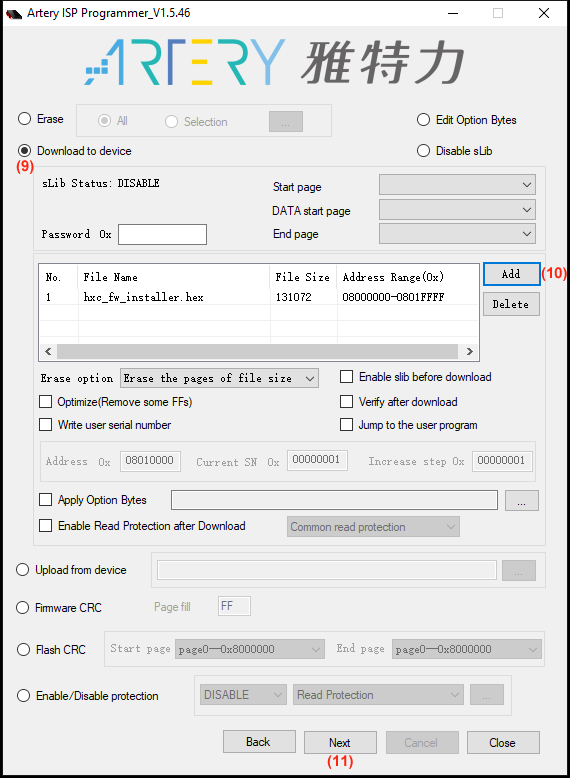
Choose "Download to device" (9) and press the "Add" button (10) and select the hxc_fw_installer.hex file. Press "Next" (11).
-
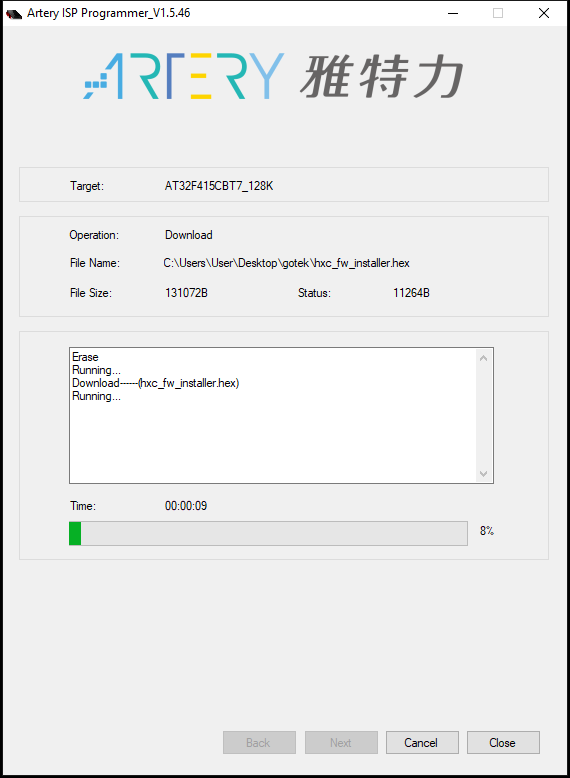
Press "Ok" (12).

-
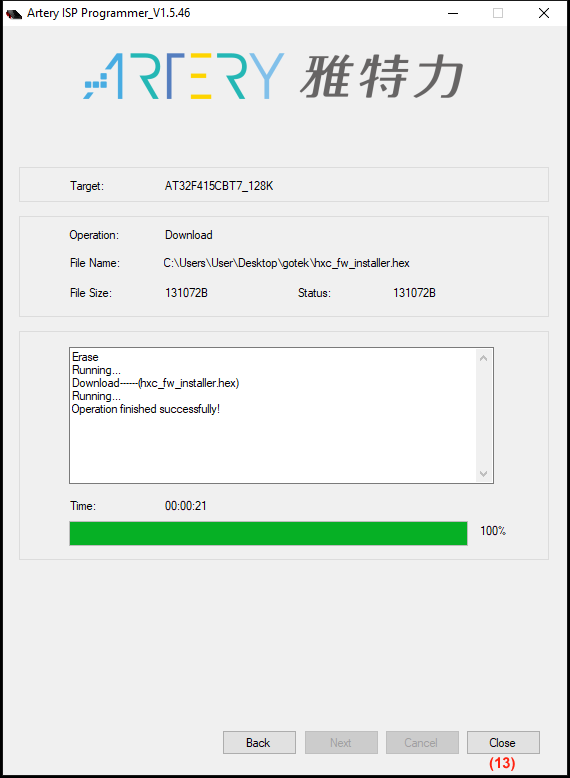
After this the Gotek will be reprogrammed.
-
Once done press "Close" (13)
-
At this point you can disconnect the wires and remove the strap. Follow up the next steps provided in the email to validate the HxC firmware installation.
| HxC Floppy Emulator project | Legal Mentions | (C)2006-2026 HxC2001 / Jean-François DEL NERO |