
HxC firmware for Gotek usage
Last modified: 16 January 2026
-
Format the USB Stick in FAT32 (FAT12 & FAT16 formats are also supported).
-
Copy the right HXCSDFE.CFG file to the root of the USB Stick.
-
Copy floppy disk files images to the stick or prepare the USB stick partitions.
-
Insert the USB Stick into the emulator.
-
Choose the floppy disk files image or partition to load.
|
Note
|
The HXCSDFE.CFG file is optionnal if you have an LCD/OLED/OSD screen (See below for more details). |
|
Note
|
macOS users : Set the "Master Boot Record" format option ! |
|
Note
|
All the mentioned files are in the USB Stick STM32 HxC Floppy Emulator firmware update archive |
Usages modes selection
There are actually three modes available. Each mode is suited for a different emulator models and usage
Normal mode
This is the default HxC Floppy Emulator mode. In this mode you can freely browse and select the files images present on the stick with the emulator’s buttons/rotary and the LCD/OLED/OSD. LCD/OLED I2C screen or OSD overlay is needed to be able to use this mode. An optional "select" push button can be connected on the JA connector.
No extra software needed.
Configuration file is optional (Config-Less support).
If you you want to have the last image selection image feature, the configuration file to copy to the root of the flash media for this mode is into the folder Config_Files/Normal_mode/HXCSDFE.CFG from the USB Stick STM32 HxC Floppy Emulator firmware update archive
Indexed mode
In this mode the file images must be named DSKA0000.HFE, DSKA0001.HFE, DSKA0002.HFE,…
|
Note
|
The file extension can be one of the supported image. |
|
Note
|
Since the version v3.1.39.1a you can add anything after the DSKAxxxx prefix (Example : DSKA0006_myfloppyname.img). |
The 2/3 digits display shows the actual file number selected.
This is the recommended mode when you don’t have the extra LCD/OLED & button and when your machine can’t use the autoboot mode (see below).
The config file to copy to the root of the flash media for this mode :
Config_Files/Indexed_mode/HXCSDFE.CFG from the USB Stick STM32 HxC Floppy Emulator firmware update archive
"Autoboot" / File selector mode
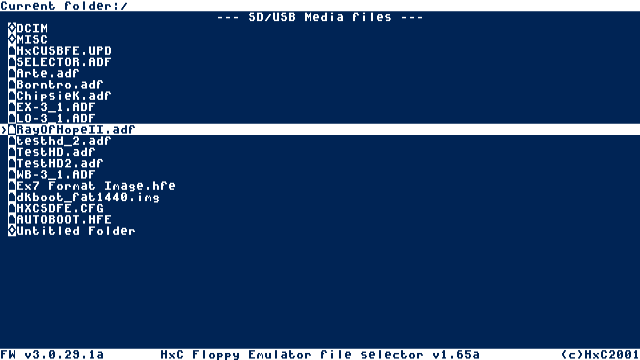
In this mode, the AUTOBOOT.HFE software is used to select the images to load directly on the computer. This software is actually available on Amiga, Atari ST and CPC computers.
No LCD/OLED/OSD and/or extra push button is required to use this mode, but the LCD/OLED/OSD may help you to see which disk is actually mounted.
The config and the software file to copy to the root of the flash media for this mode :
link:../../../download/floppy_drive_emulator/SDCard_HxC_Floppy_Emulator_Manager.zip
|
Note
|
This mode can be used with all others machines thanks to the software’s Windows and Linux ports. You can edit the file list on a PC / Mac computer. |
Last modified: 16 January 2026
| HxC Floppy Emulator project | Legal Mentions | (C)2006-2026 HxC2001 / Jean-François DEL NERO |